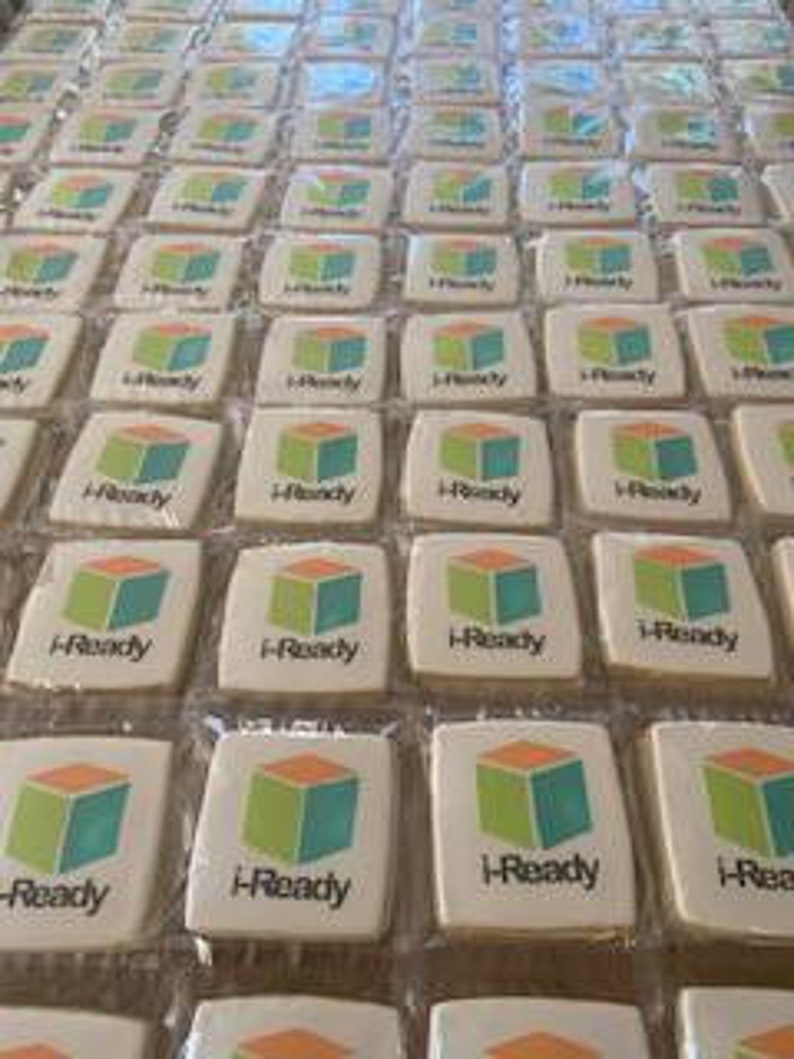
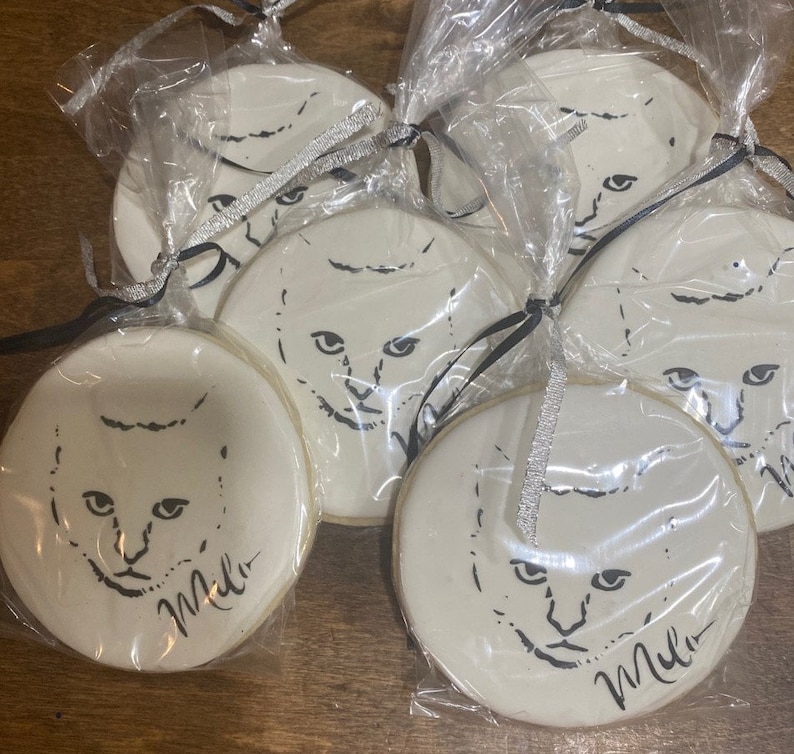
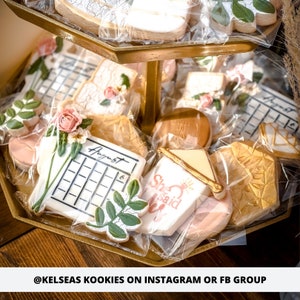
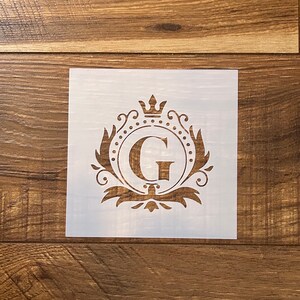
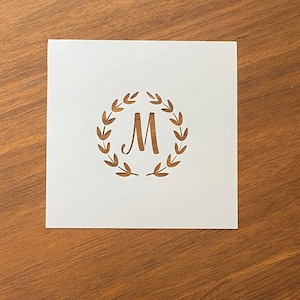
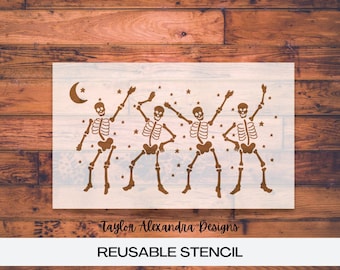
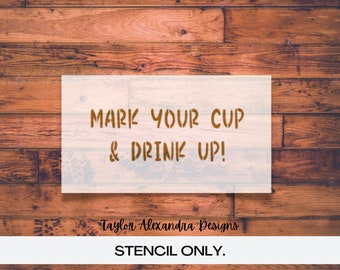
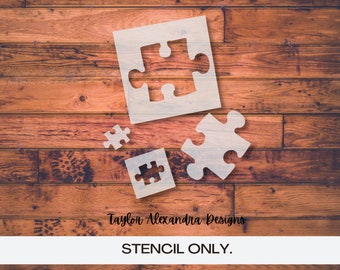
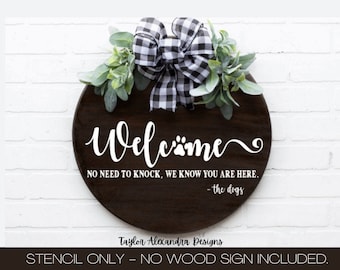
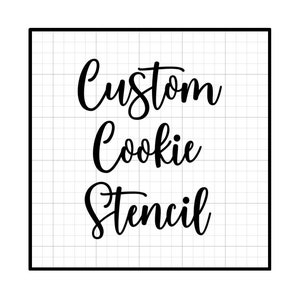
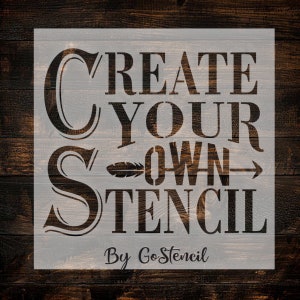
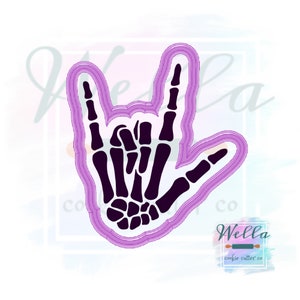
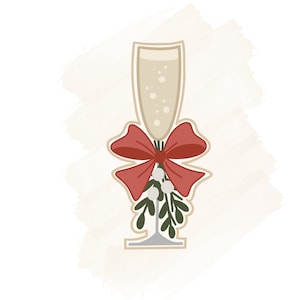
🍪 Custom COOKIE Stencils! 🎨
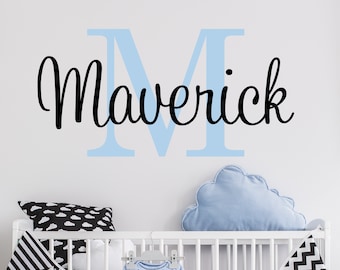
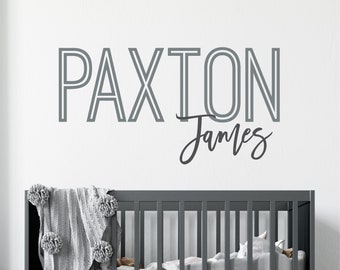
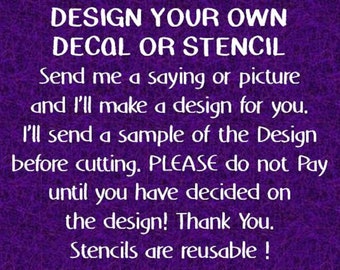
Ready to take your cookies to the next level of sweetness? Look no further! I'm here to create custom stencils for your baby shower, birthday, or any delightful event. Need a stencil of your business logo or a special phrase? I'm all ears (or eyes, in this case)! I've got a whole library of fonts and images at my fingertips, and I'm excited to bring your ideas to life. Before you make your purchase, feel free to share a picture of what you're envisioning—I'm a stencil magician and can recreate most basic images with ease! 🪄✨
HOW TO ORDER:
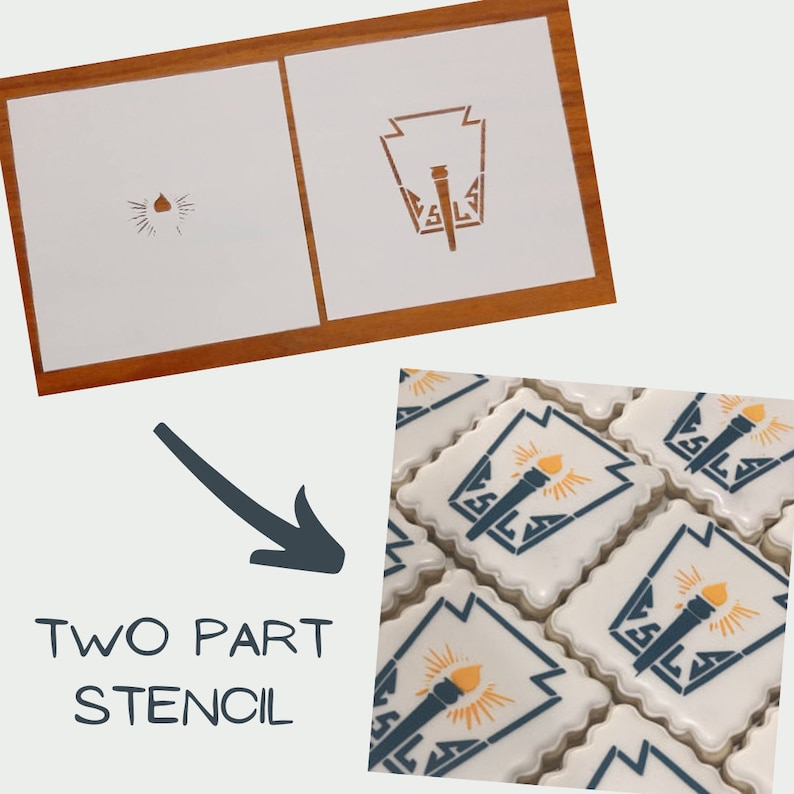
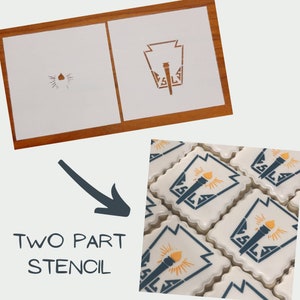
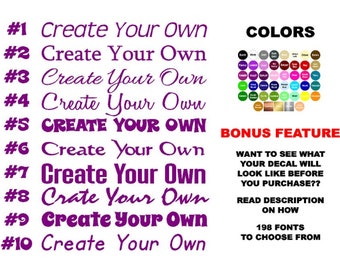
1) In the first drop-down menu, select 1, 2, 3, 4 or 5 part stencils (for multiple colors or layers). Check out the photos for more details.
2) Next, choose the size of your cookie, and I'll resize the design to fit perfectly for that cookie size. Got a unique shape or size? No worries, just select the OTHER and in the personalized space, you can give me the exact dimensions/shape.
3) Pour your creativity into the personalized section, and let me know all the juicy stencil details you have in mind.
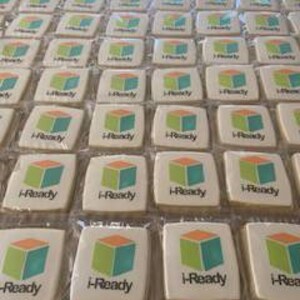
If you've got logos, photos, or anything yummy you want to recreate, send them my way at TaylorAlexandraDesigns (at) gmail.com or via Etsy messages. Let the cookie artistry begin! 🎨
ONCE ORDERED:
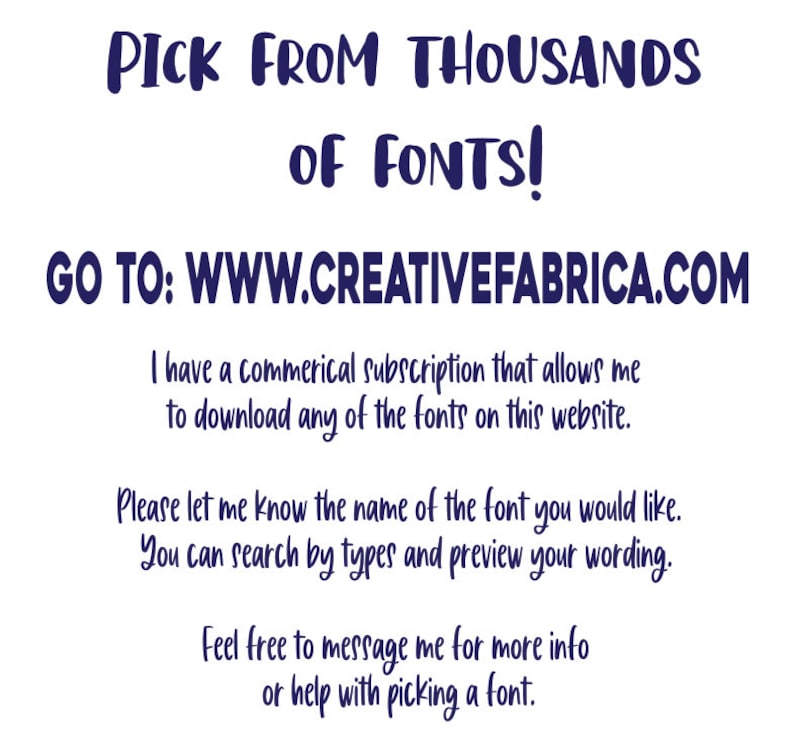
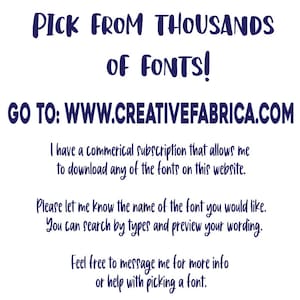
Haven't found the font you love on CreativeFabrica (dot) com? Take your time, and when you're ready, let me know! We'll make sure your cookie message shines.
Within 48 hours, I'll whip up a design proof for you to feast your eyes on. Time to savor the creativity!
Let's make it perfect together - your feedback matters, and I'll gladly tweak the design until you're smiling ear to ear! 😊
Once you give that green light, your order will be cut and whisked away to shipping within 48 hours. Get ready for some cookie magic!
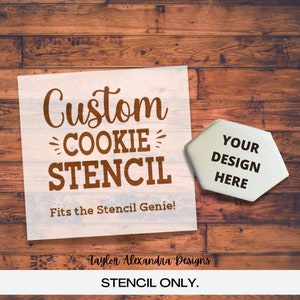
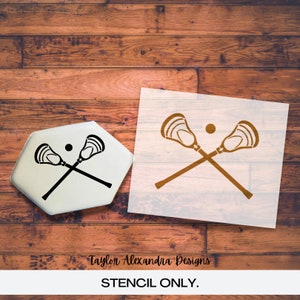
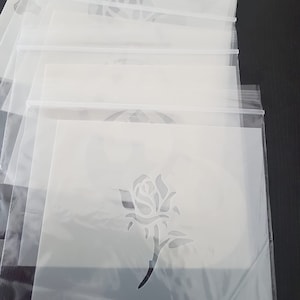
My stencils are top-notch, just like your cookies! They're 7.5 Mil, food-safe, and sized at 5.5 x 5.5" to play nicely with the Stencil Genie. Sturdy yet flexible, they'll wrap around cups, pots, barrels, or columns with ease. And the best part? They're reusable! Just a little mild soap and water after each use, and they're ready for another cookie adventure. Store them flat to keep their cookie-cutting superpowers intact! 🍪💫
Hey there, cookie artist! Remember to keep an eye on messages and email for a sprinkle of creativity. Let's stay connected to ensure your stencil dreams come true. Feel free to leave an email you check regularly in the notes section—our secret cookie code! 😉
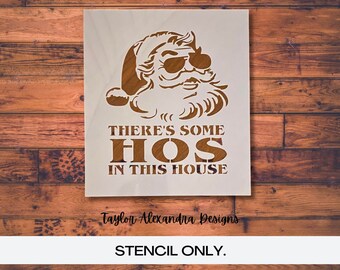
Oh, and don't worry about those loops in letters! We've got the perfect solution—a small piece of stencil (stencil bridge) will hold them in place, ensuring you get the inside scoop of every letter without any cookie drama! 😄🍩
SHIPPING:
Your order comes with USPS First Class mail, and tracking is included. Upgrades are available at checkout, including Rush & Priority Mail and Rush & Priority Express Mail. Let me know your cookie timeline, and we'll find the sweetest shipping option for you!
If you have any questions, just drop me a message. I'm here to help and usually answer within an hour. Let's bake up some cookie stencil fun together! 🍪🎉
----
Thank you so much for checking out my item - if you are interested to check out all my items, please click the link to see my full Etsy shop. <3 Taylor
www.etsy.com/shop/TaylorADesigns
***************
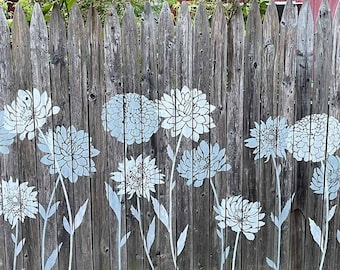
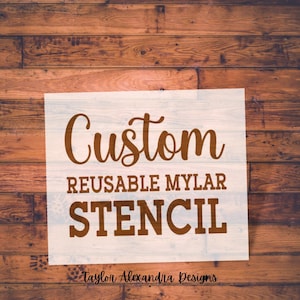
REUSABLE MYLAR STENCIL DIRECTIONS / TIPS:
HOLD YOUR STENCIL IN PLACE
The best way to make sure your stencil doesn't move is to secure it with an adhesive spray. You can use any spray adhesive that is designed especially for this purpose. Stencil Adhesive Spray will hold your stencil in place over and over, as it's reusable once applied to the stencil. You may also use painter's tape but it won't be as secure.
USE THE RIGHT BRUSH
Stenciling brushes are round with short, stiff bristles. Use them in a quick up-and-down movement to dab paint onto your stencil. This helps prevent paint from getting under the stencil's edges. A sponge or small roller works well too. A sponge is perfect for larger less detailed areas and brushes are best for more detailed patterns and small lines.
USE VERY LITTLE PAINT
Always use a dry brush and don't overload a brush with paint, as it'll seep under the edges of the stencil. You'll get better results by applying two thin coats rather than one thick one. Wait for the first to dry before applying the second. Less is more, my friend.
START STENCILING FROM THE EDGE
Instead of working from the center toward the edges start working from the outside of the stencil. This will prevent bleeding and you accidentally bumping against the edge of the stencil.
USE THE RIGHT PAINT WITH THE STENCIL
Certain surfaces need the use of specific paints:
Wood (interior use) - acrylic paints, enamels
Wood (exterior use) - acrylic paints for outside use (or you can use a regular acrylic paint, then spray a finish on top, to protect from weathering)
Fabric - acrylic paints, enamels, fabric paints
Interior walls (example: bedroom wall) - acrylic paints
Glass/tile - enamels
Paper - acrylics paints, sprays, ink
Plastic - enamels
GET THE PERFECT FINISHED LOOK WITH STENCILS
When you are using stencils to make ‘hand-painted’ signs or titles, there may be some times you don’t want it to look like you used a stencil. Stencils have little connector lines (stencil bridges) to keep the stencil stable, you can use toothpicks with a little paint to complete the lines of the letters if you don't want to see the stencil bridges on your final product.
---
Thanks for choosing our shop for your custom stencil needs. We are so excited to create something special just for you. Because each of our custom stencils is made to order, we do not accept returns on these items. However, we want you to be completely happy with your purchase, so if you are not satisfied with your custom stencil for any reason, please let us know and we will do our best to make it right. We value your business and want you to have a positive experience with our shop. Thanks again for choosing our custom stencils, and happy crafting!